App guides
How to Monitor Bedroom CO₂ While You Sleep
WakeUp 2day can record your bedroom’s CO₂ level through the night and show it next to your sleep. It reads a sensor you already have in Home Assistant, Homey or Apple Home; it does not measure CO₂ itself. You set it up once in Settings > Sleep & Health > Air Quality, and it is free with Home Assistant or Apple Home sensors.
Key takeaways
- Free with Home Assistant or Apple Home; a Homey sensor needs the Pro Smart Home settings. WakeUp reads a sensor, it does not measure CO₂.
- Set it up in Settings > Sleep & Health > Air Quality, then pick your sensor.
- Readings are saved every 30 minutes during sleep tracking, with average, peak and minimum in the report.
- Green is below 800 ppm, yellow 800–1200 ppm and red above 1200 ppm.
- If nights run into red, change one thing at a time, such as a door ajar or a window gap.
What CO₂ monitoring does and who it is for
In a closed bedroom, the CO₂ you breathe out builds up overnight, and a rising reading is a good sign that the air is getting stale. In two small field experiments, better bedroom ventilation, and so lower CO₂, improved reported sleep quality, next-day sleepiness and performance on a logic test.1 The background is in how bedroom CO₂ affects your sleep.
This feature is for anyone who wakes to a stuffy room, sleeps with the door and window shut, or shares a small bedroom. It turns a vague feeling into a number you can watch, and lets you test whether a change actually makes a difference.
What you need
- A CO₂ sensor that already reports to Home Assistant, Homey or Apple Home. Not every air-quality monitor measures CO₂, so check that yours shows a CO₂ value in ppm in your smart-home app.
- The free WakeUp app. CO₂ monitoring itself is not part of WakeUp Pro; only a Homey sensor needs Pro, as explained below.
- Sleep tracking on the nights you want recorded, because readings are saved while tracking runs. If you have not tracked before, start with tracking your sleep with just an iPhone.
Home Assistant and Apple Home can be connected straight from the Air Quality screen. Homey works differently: Air Quality uses the Homey connection you set up under Settings > Smart Home > Smart Lights, and the Smart Home settings are part of WakeUp Pro.
How to set up CO₂ monitoring
- Open Settings > Sleep & Health > Air Quality and turn on CO₂ monitoring with the switch on the Air Quality card.
- Under System, choose Home Assistant, Homey or Apple Home.
- Connect, if the card asks you to:
- Home Assistant: enter your Home Assistant URL and a Long-Lived Access Token, then tap Connect. If you already connected Home Assistant for smart lights, the card says so and reuses that connection.
- Apple Home: tap Connect to Apple Home and allow Home access when iOS asks.
- Homey: connect it under Settings > Smart Home > Smart Lights first; the card then shows the shared connection.
- Tap Discover Sensors.
- Under Sensor, select your bedroom sensor. Where available, each sensor shows its latest reading, which helps if you have several.
- Check the Current Reading: a ppm value labeled Good, Fair or Poor. Tap Refresh to read it again.
How to read your CO₂ data
Once a sensor is selected, the current level appears on the Clock, Nightstand and Sleep screens, color coded:
| Color | Label | CO₂ level |
|---|---|---|
| Green | Good | Below 800 ppm |
| Yellow | Fair | 800–1200 ppm |
| Red | Poor | Above 1200 ppm |
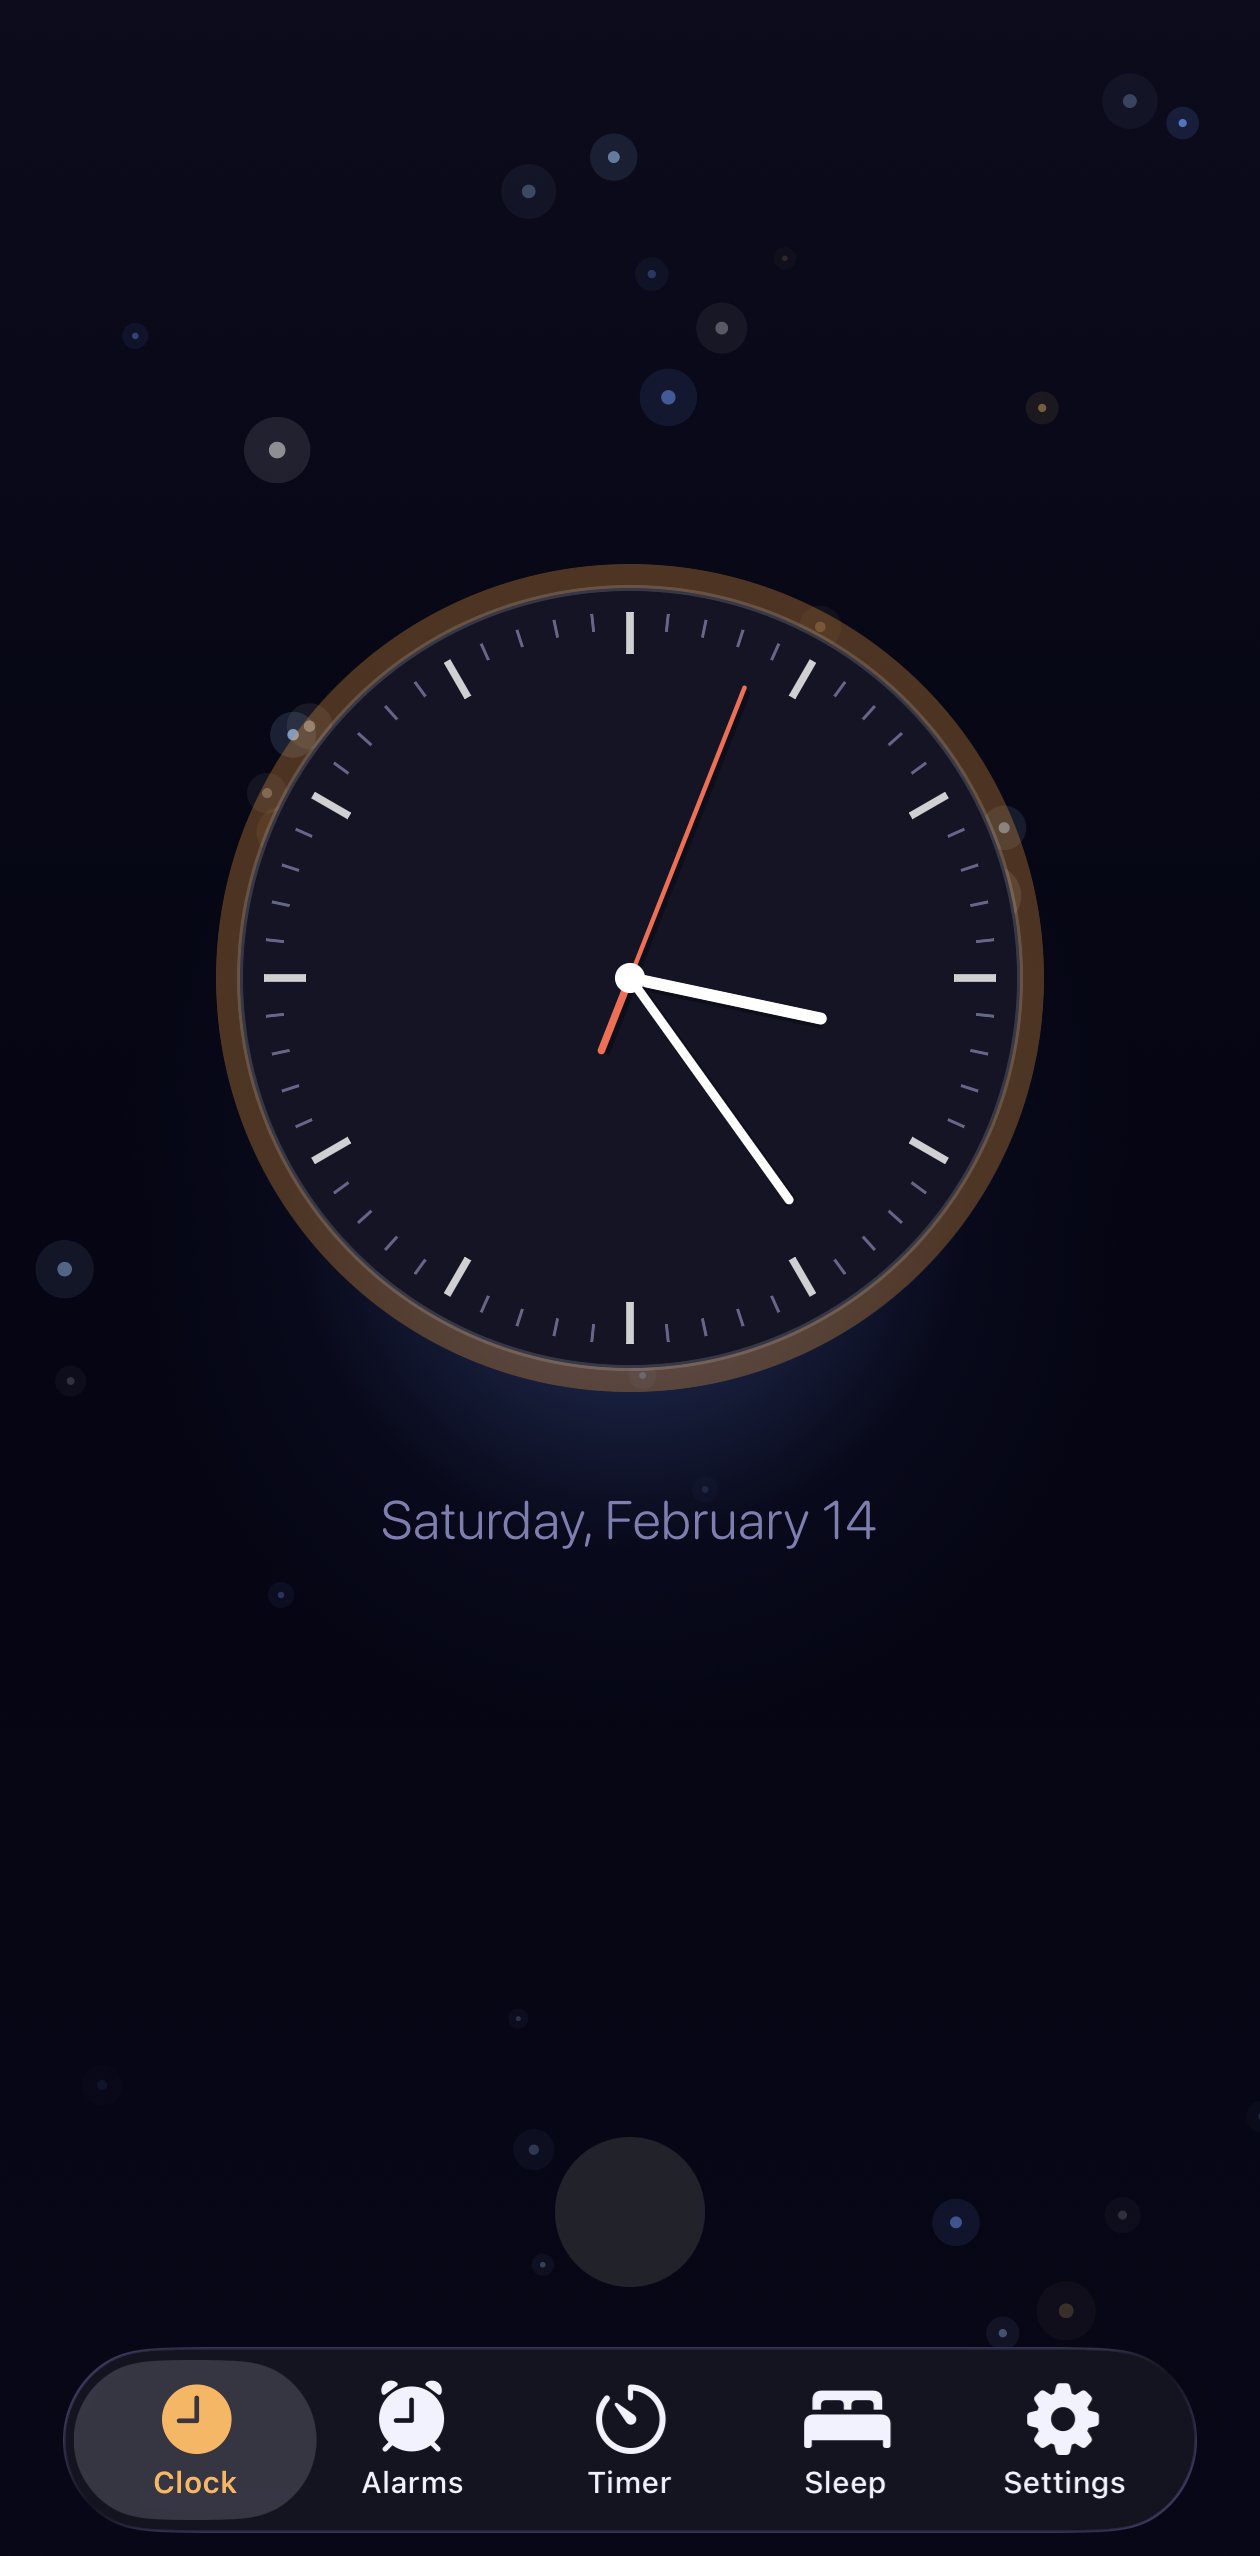
During sleep tracking, WakeUp records the level every 30 minutes. When you stop tracking, the night’s report shows a CO₂ graph with the average, peak and minimum. The shape of the line often says more than one number: a steady climb after you close the door points to ventilation, while a flat line in the green suggests the air is not what is bothering your sleep.
You can also keep an eye on it with CO₂ widgets, small or medium on the Home Screen and circular, rectangular or inline on the Lock Screen; see how to add WakeUp widgets. The nightly readings are included when you export your data.
Tips for useful readings
- Change one thing at a time. Try a night with the door ajar, then one with a window open a crack, and compare the graphs.
- Look at the peak, not only the average. A good average can hide a few hours in the red toward morning.
- Keep the sensor in one place. Moving it between nights makes comparisons less reliable.
- Weigh the trade-offs. An open window can also let in noise, cold or pollen. If fresh air makes the room too chilly, see the best bedroom temperature for sleep.
Troubleshooting
- No CO₂ sensors found: check in your smart-home app that the sensor reports CO₂, not only other air-quality values, then tap Discover Sensors again.
- Cannot reach Home Assistant: check the URL and that your iPhone is on a network that can reach it. A local address works only on your home network.
- The card asks you to configure Homey first: connect Homey under Settings > Smart Home > Smart Lights, then come back to Air Quality.
- Apple Home will not connect: make sure Home access for WakeUp is allowed in the iOS Settings app.
- No CO₂ graph in the report: readings are saved only during sleep tracking, with CO₂ monitoring switched on and a sensor selected.
- The reading never changes: tap Refresh, then check in your smart-home app that the sensor itself is updating.
Where to start tonight
Connect your sensor, check that the Current Reading looks plausible, and track tonight with the bedroom as you usually have it. In the morning, look at the peak and the shape of the graph. If it runs into yellow or red, leave the door ajar or open a window slightly the next night and compare. If you also control lights or heating through Home Assistant, using WakeUp 2day with Home Assistant builds on the same connection.
Frequently asked questions
Can my iPhone measure CO2 in my bedroom?
Not on its own. An iPhone has no CO₂ sensor, so you need a separate one. WakeUp 2day reads the CO₂ value from a sensor you have already added to Home Assistant, Homey or Apple Home, records it every 30 minutes while it tracks your sleep and shows it in the night’s report.
What is a good CO2 level for sleeping?
WakeUp colors readings green below 800 ppm, yellow from 800 to 1200 ppm and red above 1200 ppm. Treat these as practical bands for spotting stuffy air, not medical limits. Small studies suggest that better bedroom ventilation, and so lower CO₂, goes with better reported sleep, so mostly green nights are a reasonable aim.
Do I need WakeUp Pro to track bedroom CO2?
Not with Home Assistant or Apple Home: CO₂ monitoring is part of the free app, and you connect those sensors straight from the Air Quality screen. A Homey sensor is different, because it uses the Homey connection from the Smart Home settings, which are part of WakeUp Pro. WakeUp Pro adds things like weekly sleep summaries, AI coaching and smart-home automations for lights, climate and locks, none of which you need to record CO₂.
Where should I put a CO2 sensor in the bedroom?
Put it in the room you sleep in, at roughly the height of the bed, a little away from your face so it reads the room rather than each breath. Keep it away from an open window or door, which would show outside air. Then leave it in the same spot so one night compares fairly with the next.
Sources
- Strøm-Tejsen P, Zukowska D, Wargocki P, Wyon DP. The effects of bedroom air quality on sleep and next-day performance. Indoor Air, 2016. doi.org/10.1111/ina.12254
This article is for general information only and is not medical advice. WakeUp 2day is not a medical device and does not diagnose, treat or prevent any condition. If you are worried about your sleep or your health, talk to a doctor.